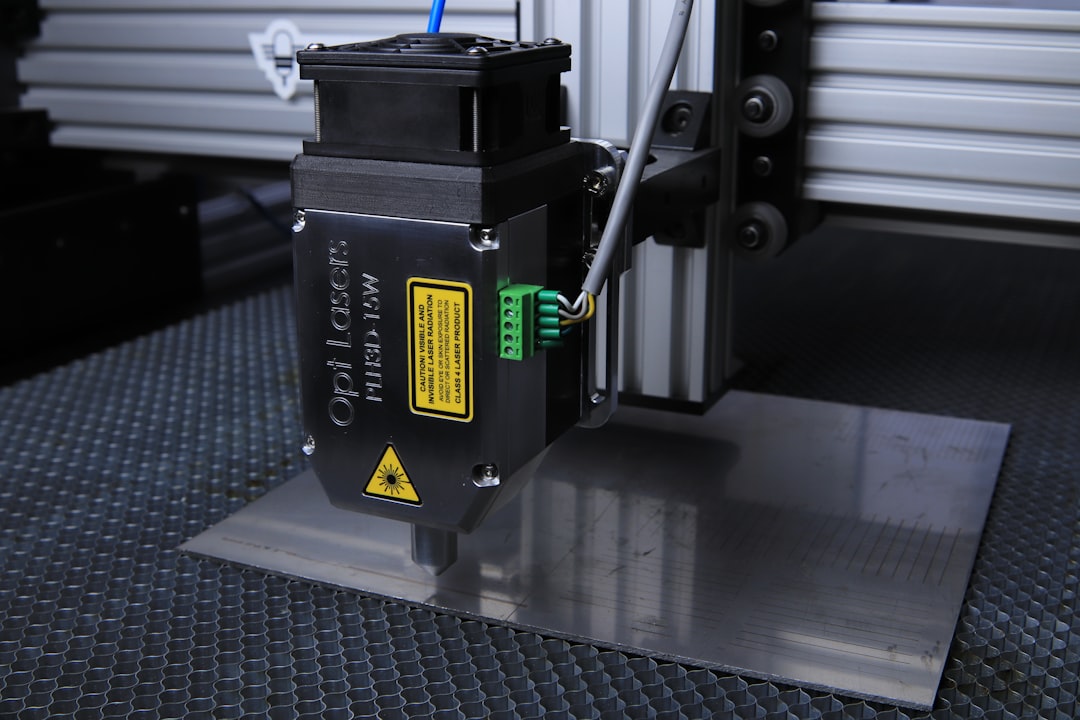
The Sculpfun SF-A9 is a powerful desktop laser engraver widely used by hobbyists and professionals for its precision, reliability, and versatility. Like any electronic device, however, critical components such as the motherboard may require replacement due to malfunction, damage, or the need for upgrades. Replacing the motherboard is a sensitive process that demands both technical understanding and careful handling of the hardware. This guide provides a detailed, step-by-step walkthrough for replacing the motherboard on your Sculpfun SF-A9.
Before beginning, it’s essential to understand that incorrect handling or faulty installation can cause irreparable damage to the machine or void warranties. Always proceed with caution, and consult licensed professionals if you are unsure about any step.
Important Notice Before You Begin
- Disconnect the power supply completely before opening the machine or touching any internal structures.
- Wear anti-static gear such as grounding wrist straps to prevent static discharge damage.
- Work in a clean, dry, and well-lit area with enough space to lay out components safely.
Tools and Materials You’ll Need
- Replacement Sculpfun SF-A9 motherboard (OEM recommended)
- Set of precision Phillips screwdrivers
- Tweezers
- Organizing tray for screws and small parts
- Anti-static wrist strap
- Camera or phone (to document wire placements)

Step-by-Step Motherboard Replacement Process
1. Power Down and Open the Enclosure
First and foremost, unplug the Sculpfun SF-A9 from its power source. Wait at least five minutes to allow any remaining current to dissipate. Then, remove any external casing that covers the motherboard compartment. This typically involves loosening a series of screws at the back or bottom of the unit.
2. Document Wire Connections
Modern engraving machines like the Sculpfun SF-A9 utilize numerous connections for motors, sensors, and power lines. Before removing any cables, use your phone to take multiple clear pictures of all the connectors and wiring positions. These images will be essential when reconnecting the components to the new motherboard.
3. Disconnect All Wires
Once you’ve documented everything, begin disconnecting each cable. Do not pull on the wires; always grip the connector housing itself to prevent damage. If necessary, use tweezers to handle small or tight plugs. Organize the loose wires gently to the side of the unit.
4. Remove the Faulty Motherboard
Now identify the screws securing the motherboard to the chassis. Remove them carefully using a precision screwdriver. Store the screws in your organizing tray, as many are unique to their positions. Gently lift the motherboard from the case once all screws are out. Place the removed board in a static-safe bag or on an insulating surface to avoid accidental short-circuiting.

5. Inspect and Prepare the New Motherboard
Before installation, inspect your new SF-A9 motherboard for any manufacturing defects or irregularities. Check the connector ports to ensure that no pins are bent or broken. It’s also a good idea to lightly dust off the surface using compressed air to remove any particles that may have settled during packaging.
If the replacement motherboard lacks thermal pads or insulation layers where required, transfer these components from the old board.
6. Install the New Motherboard
Align the new motherboard with the screw slots in the chassis. Carefully lay it down into place without forcing it. Once aligned, insert the mounting screws one by one, tightening them softly at first to ensure proper placement. Then, once all screws are in place, finish tightening them thoroughly but not excessively, to avoid cracking the PCB.
7. Reconnect the Wiring
Refer to the pictures you took earlier and reconnect each wire to the appropriate port or terminal on the new motherboard. Double-check to ensure that all connectors fit snugly and that no pins are bent. Pay special attention to motor orientation and limit switch inputs, as incorrect placement could cause system failure upon startup.
8. Close the Enclosure and Test
Once all components are reconnected, replace the enclosure cover and secure all outer screws. Reconnect the power supply, and turn the machine on while keeping a close eye on any error indicators or unusual behavior. If your engraver uses external software for calibration or firmware updates, check for compatibility and reconfigure your system as needed.
Post-Replacement Tips
- Firmware Updates: Often a motherboard replacement requires a corresponding firmware update to ensure proper functionality. Visit the official Sculpfun website to download the latest firmware version compatible with your hardware revision.
- Motor Calibration: Run a calibration routine using your preferred engraving software (e.g., LightBurn or LaserGRBL) to ensure that axis alignment, travel distances, and home positions are properly recognized.
- Testing Cycles: Perform a dry run or use low-power engraving jobs to test system responsiveness. Listen out for unusual motor sounds or pause behaviors that may indicate incorrect connections or board faults.
Troubleshooting Common Issues
Even with meticulous steps, you might encounter some issues after replacement. Here are a few common problems and their corresponding solutions:
- Machine Doesn’t Power On: Double-check the power connectors and ensure your power supply is sending voltage. Verify that you did not forget to reconnect the fuse or power input cables.
- Axis Not Moving Correctly: Inspect your stepper motor connectors—one might be offset by a pin or reversed. Also verify the firmware settings for each motor.
- Unrecognized by Computer: Make sure you’ve installed the correct USB drivers after the new motherboard is installed. Use another USB cable or port if needed.

Final Thoughts
Replacing the motherboard in a Sculpfun SF-A9 is not an overly complex task, but it demands diligence, precision, and a strong understanding of the machine’s internal layout. By following each step carefully, using the right tools, and documenting your work, you can successfully revive or enhance your laser engraver.
Always opt for authentic parts when possible. Third-party replacements may introduce compatibility issues or put your machine at risk. Make it a point to regularly check all components after installation to ensure lasting performance and safety.
Whether you’re a seasoned maker or just stepping into the world of desktop laser engraving, understanding how to maintain critical hardware components like the motherboard makes you not just a user, but a knowledgeable operator of your equipment.


