If your Eagle-1 Slide machine is exhibiting erratic performance, failing to boot properly, or showing signs of internal hardware degradation, it may be time to replace the motherboard. The motherboard acts as the central nervous system for your device, and its proper function is critical to the overall performance of your Eagle-1 Slide. Replacing this component is a delicate but achievable task, even for those with moderate technical know-how. In this guide, we offer a step-by-step breakdown for replacing your Eagle-1 Slide motherboard safely and efficiently.
Before You Begin
Before starting with the motherboard replacement, make sure to review the safety guidelines and ensure you have the correct replacement part. Not all motherboards are interchangeable—even among Eagle-1 Slide models. Refer to your device’s serial number and consult the manufacturer’s specifications.
Required Tools and Materials:
- Phillips-head screwdriver (size 1 or 0)
- Anti-static wrist strap
- Plastic pry tool
- Replacement Eagle-1 Slide motherboard
- Clean, static-free workspace
Always back up important data beforehand, as the motherboard replacement process might result in data loss if not handled properly.
Step 1: Power Down and Disconnect
Start by completely shutting down your Eagle-1 Slide. Unplug all cables, peripherals, and external power sources. Place the device on a stable, non-metallic surface and attach an anti-static wrist strap. This will protect the electronic components from electrostatic discharge, which can cause permanent damage.
Step 2: Open the Device Housing
Using a Phillips-head screwdriver, remove all screws securing the rear panel of the device. Keep the screws organized, as they may vary in size.
Once the screws are out, use a plastic pry tool to gently separate the casing along the seam. Apply steady pressure to avoid cracking or bending the panel.
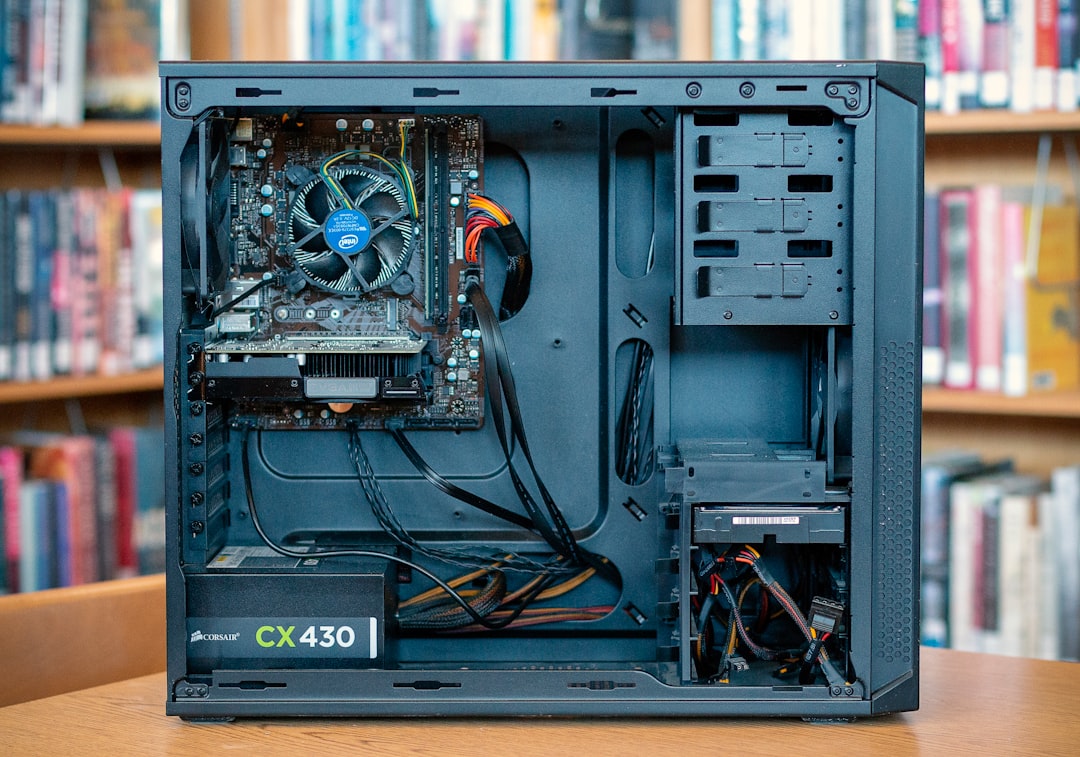
Step 3: Locate and Remove the Old Motherboard
Once inside, locate the motherboard. It should be attached with several additional screws and ribbon cables. Begin by disconnecting each ribbon cable by gently flipping the connector latch upward and pulling the ribbon out.
Next, remove the screws holding the motherboard in place. Be careful not to damage any surrounding components or wiring.
Cautiously lift the motherboard out of the housing, holding it only by the edges. Avoid touching the circuitry or contacts directly.
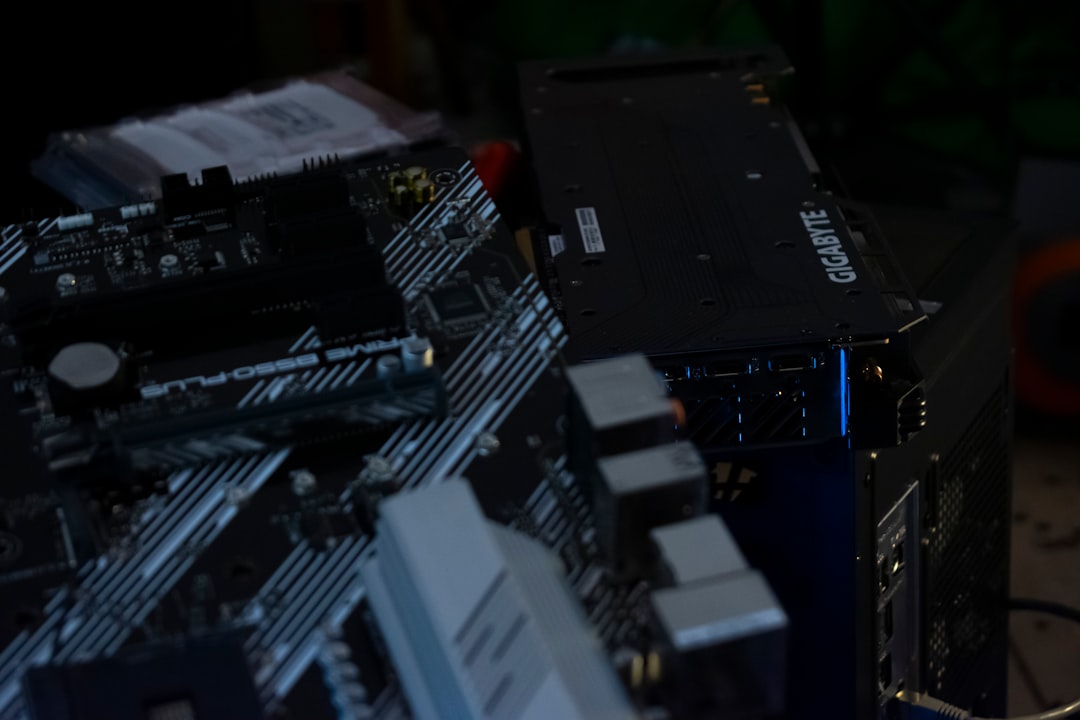
Step 4: Install the New Motherboard
With the old motherboard removed, take the replacement and align it with the mounting points inside the housing. Lower the board carefully into place, ensuring no cables or components are pinched beneath it.
Secure the motherboard using the appropriate screws and reconnect each ribbon cable. Cables should fit snugly without the need for excessive force. Double-check that all connectors are properly seated and that there are no loose components.
Step 5: Reassemble the Device
Reattach the rear panel and insert all screws in their correct locations. Check that the casing is properly aligned and secure. Once the exterior is reassembled, remove the anti-static wrist strap and reposition the device for testing.
Step 6: Power On and Test
Reconnect all external cables and power up the Eagle-1 Slide. The device should initiate a full POST (Power-On Self-Test) sequence and boot normally into the OS. If the screen remains blank, check all connections again and listen for any diagnostic beeps.
After booting successfully, verify all system functions including USB ports, Wi-Fi, and audio output. You may also need to update the BIOS or firmware to ensure compatibility with the new motherboard.
Important Considerations
- Warranty: If your Eagle-1 Slide is still under warranty, consult the manufacturer before attempting any repairs. Unauthorized service may void the warranty.
- Firmware Compatibility: The new motherboard should match your original in both hardware layout and firmware compatibility. Incompatible boards can cause permanent damage or unstable system behavior.
- Professional Help: If you are unsure at any point during the process, do not hesitate to seek professional assistance. Errors in motherboard handling can cause irreversible hardware failure.
Conclusion: Replacing the motherboard in your Eagle-1 Slide is a serious but manageable task. With proper preparation, patience, and attention to detail, you can restore full functionality and prolong the life of your device.