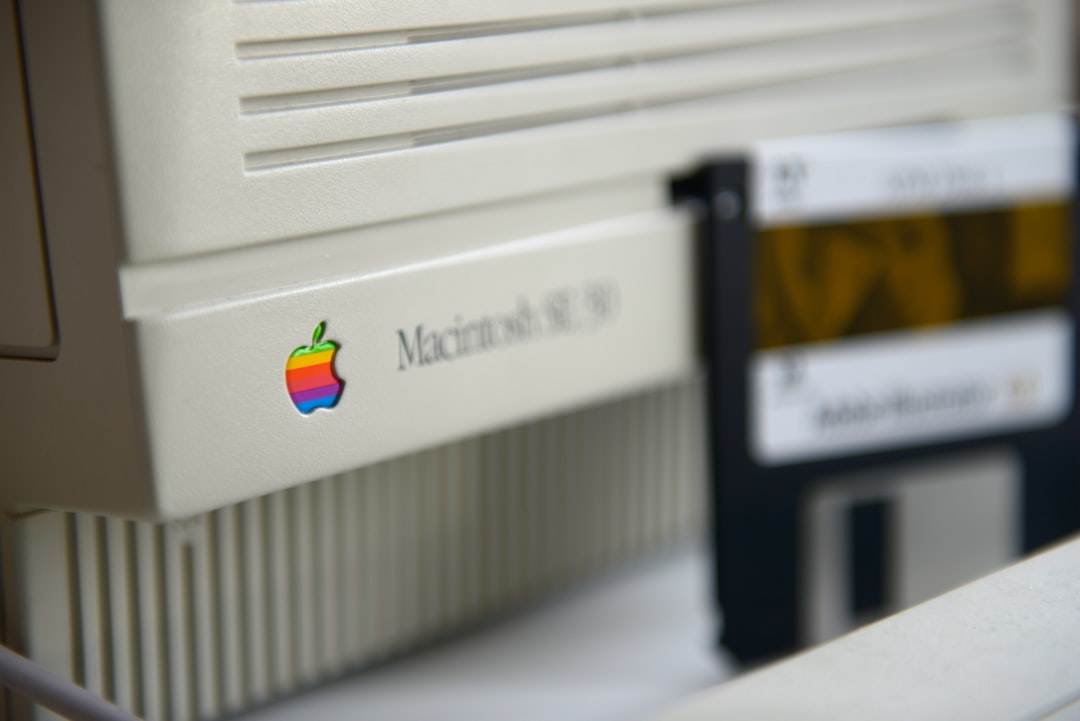
Running out of disk space on a Mac can lead to performance issues, sluggish behavior, and the inability to install critical updates or new apps. Fortunately, there are several effective ways to clean up your Mac and reclaim storage space. Whether one is using a MacBook Air, MacBook Pro, iMac, or Mac Mini, keeping the disk space optimized is essential for smooth operation. Below are ten easy tips to free up disk space on a Mac, each offering a straightforward approach to decluttering and improving overall system performance.
1. Analyze Storage Usage
Before taking any action, it’s helpful to understand what’s consuming storage. By navigating to Apple Menu > About This Mac > Storage, users can see a color-coded map of what’s using space—documents, apps, photos, or system files. Clicking on Manage provides additional tools and recommendations tailored to the Mac.

2. Use the Built-in Storage Management Tool
macOS offers a convenient storage management tool that provides suggestions such as offloading to iCloud, optimizing storage, and reviewing large files. This tool is found under About This Mac > Storage > Manage. Use it to:
- Store in iCloud – Offload rarely accessed files to iCloud Drive.
- Optimize Storage – Delete movies and TV shows watched in Apple TV automatically.
- Empty Trash Automatically – Remove items from the Trash after 30 days.
- Reduce Clutter – Identify and delete large or unnecessary files.
3. Delete Unused Applications
Applications can take up a significant amount of space, especially those not used regularly. To uninstall unneeded apps:
- Open Finder and go to the Applications folder.
- Drag the unused app to the Trash.
- Empty the Trash to permanently remove the application and free up space.
It is also worth checking for app remnants in /Library and ~/Library folders.
4. Empty the Downloads Folder
The Downloads folder often accumulates large files such as installers, PDFs, and media. Manually go through this folder and delete files you no longer need.
5. Remove System Junk and Cache
macOS stores temporary files, system logs, and user cache to improve performance, but over time, this data can consume gigabytes of disk space. Use a reputable app like CleanMyMac or Onyx to safely clear cache files, logs, and system junk.

6. Manage Photo and Video Libraries
Photos and videos are among the biggest storage consumers. Review your Photos app library and delete duplicates or unwanted files. Consider enabling iCloud Photos with Optimize Mac Storage, which keeps lower-resolution versions of media on the Mac while originals stay in the cloud.
7. Clear Browser Cache and Downloads
Safari, Chrome, and Firefox all store caches, cookies, and large download files. Periodically clear browsing history and cache via browser settings:
- For Safari: Safari > Preferences > Advanced > Check Show Develop menu, then use Develop > Empty Caches.
- For Chrome: Navigate to chrome://settings/clearBrowserData.
- Don’t forget to check the Downloads folder linked to your browser!
8. Transfer Large Files to External Drives
If you work with video projects, audio production, or large design files, transferring such files to an external hard drive helps reduce internal storage usage. This is also great for iMovie and Final Cut Pro users whose libraries are large.
9. Remove Old iOS Backups
Backups of iPhones and iPads made via Finder or iTunes are stored locally on the Mac and can take up several gigabytes. To check for old backups:
- Open Finder (or iTunes on older macOS).
- Go to Preferences > Devices.
- Highlight and delete outdated backups you no longer need.
10. Use Third-Party Disk Management Tools
Consider using disk analysis utilities like:
- DaisyDisk
- GrandPerspective
- CleanMyMac X
These tools visually scan your storage to show large folders and hidden files, making it easier to identify space hogs.
Bonus Tip: Don’t Forget to Empty Trash
Deleted files won’t actually free up space until the Trash is emptied. Right-click the Trash icon and choose Empty Trash, or go to the Finder menu and select it from there.
Conclusion
Freeing up disk space on a Mac doesn’t have to be a complicated or risky process. By routinely managing files, deleting unneeded data, and using tools built into macOS, users can optimize their storage and extend their Mac’s performance life. Not only will this improve speed and functionality, but it also ensures there’s always room for essential updates and new apps.
Frequently Asked Questions
Q1: How can I see what’s taking up space on my Mac?
Go to Apple Menu > About This Mac > Storage, then click Manage to access full storage insights and recommendations.
Q2: Are system files safe to delete?
Generally, system files should be left untouched unless using a trusted app designed to safely remove cache and logs, such as CleanMyMac or Onyx.
Q3: What is “Other” storage in macOS?
“Other” includes files that don’t fall into standard categories like documents, apps, or photos. It can include app data, browser caches, disk images, and system files.
Q4: Is it okay to store files in iCloud to free up space?
Yes. Enabling iCloud Drive and selecting Optimize Mac Storage allows files to be available when needed without taking up local drive space.
Q5: Will deleting apps also delete their associated data?
Not always. Some residual data may remain in the user library folders. Use an uninstaller app to ensure complete removal.
Q6: Can Time Machine backups fill up my disk?
Time Machine typically backs up to an external drive. However, local snapshots may take temporary space and be removed automatically. You can disable them with the Terminal if necessary.
Q7: How often should I clean up my Mac?
A light cleanup every few months and a thorough check every 6 months is a good practice to maintain optimal storage and performance.


