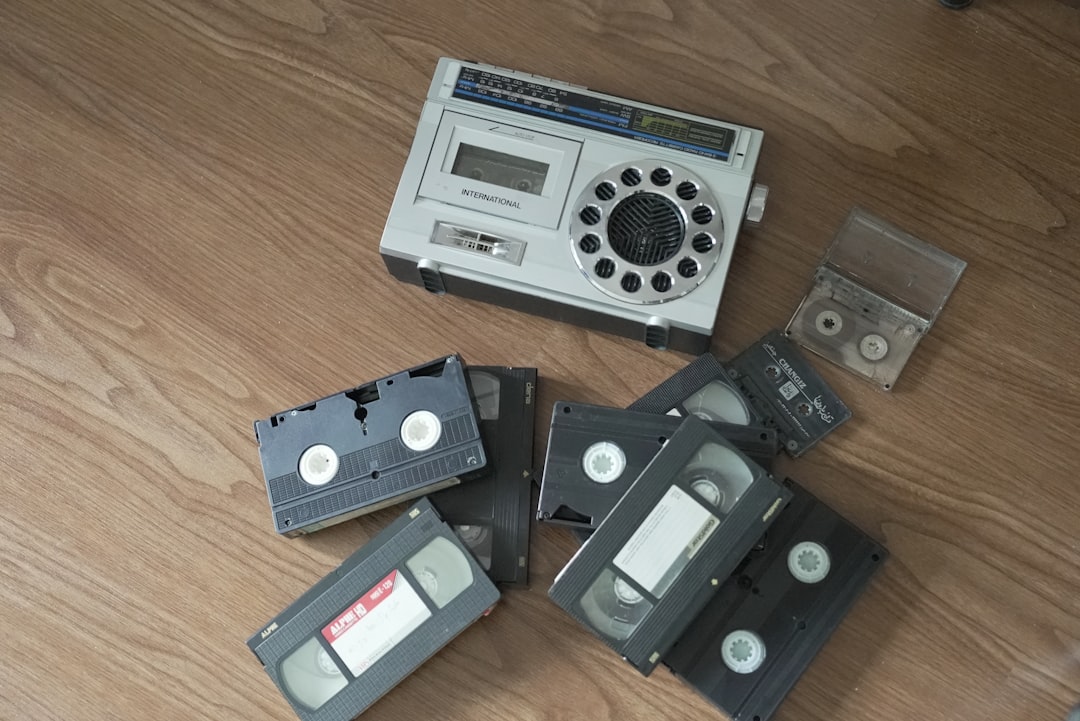
Digital Audio Tape (DAT) drives, once a cornerstone of professional data storage, are now largely obsolete. However, if you’re seeking to retrieve archived data from a Sun 4mm DAT tape drive, it’s still possible to connect this legacy hardware to a modern system via USB. This guide takes you through a step-by-step process to establish a connection, ensuring both your hardware and data stay safe in the process.
Whether you’re a tech enthusiast, an archivist, or a curious hobbyist, reconnecting aging storage media to new computers is a rewarding challenge. This article will walk you through everything you need — from the right adapters to driver installations — so you can unlock data long trapped in your tapes.
Understanding the Sun 4mm DAT Tape Drive
The Sun 4mm DAT tape drive was commonly used in UNIX environments during the 1990s and early 2000s. Often utilizing the SCSI interface, these drives stored between 1.3GB to 160GB of data, depending on the generation of the DAT format (DAT, DDS-2, DDS-3, DDS-4, etc.). While USB was not part of their ecosystem, there are modern tools available to bridge that gap.
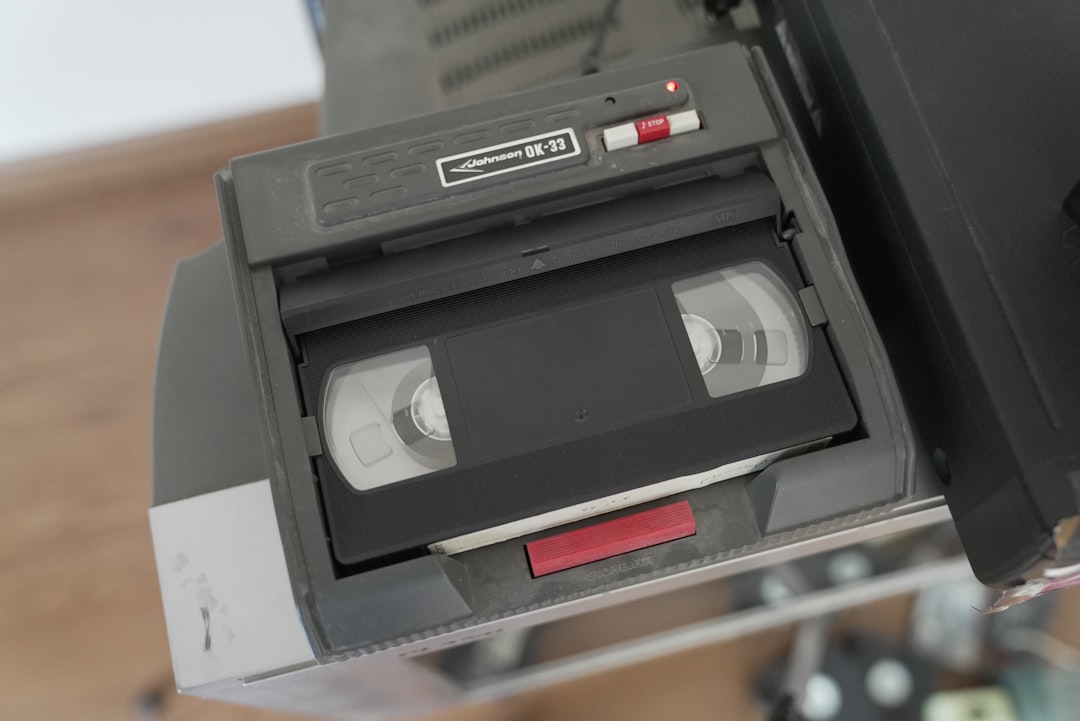
Before proceeding, keep in mind that “plug and play” is unlikely. Compatibility between vintage hardware and modern PCs often demands precise cabling, adapter selection, and the right driver packages. Still, the payoff — accessing “lost” archives — is well worth the effort.
What You’ll Need Before You Start
To successfully connect your Sun 4mm DAT tape drive via USB, you’ll need some specific hardware and software:
- Sun 4mm DAT SCSI tape drive
- SCSI controller with external ports
- SCSI-to-USB adapter or USB bridge that supports SCSI
- Terminator for the SCSI chain
- External power supply (if your SCSI device doesn’t have one built-in)
- Modern computer running Linux, macOS, or Windows
- Driver software for SCSI and tape drive support
Note: Not all SCSI-to-USB adapters are built to communicate with tape drives. Look for ones rated specifically for sequential SCSI devices, not just printers or scanners.
Step-by-Step Guide
Step 1: Inspect the Tape Drive
Check the DAT drive for its connection ports. Most Sun models use a 50-pin Centronics SCSI connector. Confirm that it’s not damaged, dusty, or corroded. Clean with compressed air if necessary.
Step 2: Acquire a SCSI-to-USB Bridge
A critical component is a SCSI-to-USB bridge. Popular options for bridging SCSI devices to USB include older Adaptec USBXchange adapters or using a PCIe SCSI card connected through a separate USB interface device — a more complicated but more reliable setup.
Remember, tape drives are sequential-access devices, which require adapters that support long command sets. Simple USB-SCSI adapters made for flatbed scanners will not work properly.
Step 3: Setup Cabling
- Connect the SCSI cable to the tape drive.
- Plug the other end into the SCSI-to-USB adapter.
- Attach the terminator at the last SCSI port (if it’s the only device in your SCSI chain).
- Connect the USB end of the adapter to your computer.
Power up the tape drive before connecting it to your PC. Some devices need to be detected at boot to be initialized properly.
Step 4: Install Drivers and Software
The driver installation process varies depending on your OS:
- Windows: You’ll need third-party drivers. Search for legacy SCSI support from companies like Adaptec. Tools like Retrospect may recognize legacy tape devices.
- macOS: Modern macOS doesn’t support SCSI natively, so this route is complex. A Linux VM or older Mac may serve you better.
- Linux: Best OS for this task. The `st` (SCSI tape) kernel module often loads automatically once the device is detected. Monitor using `dmesg` or `lsscsi`.
Step 5: Detect the Drive
Once all connections are secure and powered:
- On Linux: Open Terminal and run:
dmesg | grep tape
lsscsi
This should return a device like /dev/st0, indicating that the system has recognized your DAT device.
Step 6: Reading and Extracting Data
If you’re able to detect the device, the final step is to pull data from the tapes. Use commands such as:
mt -f /dev/st0 status
tar -xvf /dev/st0
Most data tapes were written using TAR or proprietary formats. Having the same software used in the original backup process (if possible) will make data retrieval more successful. Try the original backup tool or use a data recovery toolkit compatible with tape formats like ddrescue or Bacula.
Expert Tips and Troubleshooting
1. Adapter Compatibility: Not all SCSI-USB bridges support tape commands. Be sure to verify features with manufacturer documentation.
2. Power Requirements: Many older drives require additional power that USB alone can’t provide. Always use external power supplies where needed.
3. Termination Matters: Improperly terminated SCSI chains may result in device recognition failures. Use the correct passive or active terminators.
4. Use Linux Live USB: If your usual OS doesn’t support the drive, boot into a Linux Live USB environment for safe testing.
5. Firmware and BIOS: Some SCSI-to-USB bridges require firmware updates for full compatibility. Visit the vendor’s support site for details.
Alternative Solutions
If direct conversion proves too troublesome, consider sending your tapes to a data recovery specialist. Many data archival services maintain working legacy hardware purpose-built for extracting data from obsolete formats. This is ideal for business-critical information when DIY recovery may be risky.
Conclusion
Although no longer mainstream, the ability to connect a Sun 4mm DAT tape drive through USB opens a portal to historical data that may otherwise be lost. With careful planning and the right components, your old backup tapes can become readable once again.
The process can be challenging, even temperamental, but success is immensely satisfying. Whether for data recovery, digital archaeology, or just tech curiosity, bridging past and present technologies is a uniquely rewarding endeavor.
So dust off that box of tapes, gather your adapters, and put your patience to the test — you may just uncover a digital treasure trove from decades past!


