Images are awesome. They make websites fun, colorful, and engaging. But here’s the catch—images can be heavy. And heavy images can slow down your website. Nobody likes waiting for a page to load, right? One way to keep your site speedy is by compressing WebP images to under 100KB.
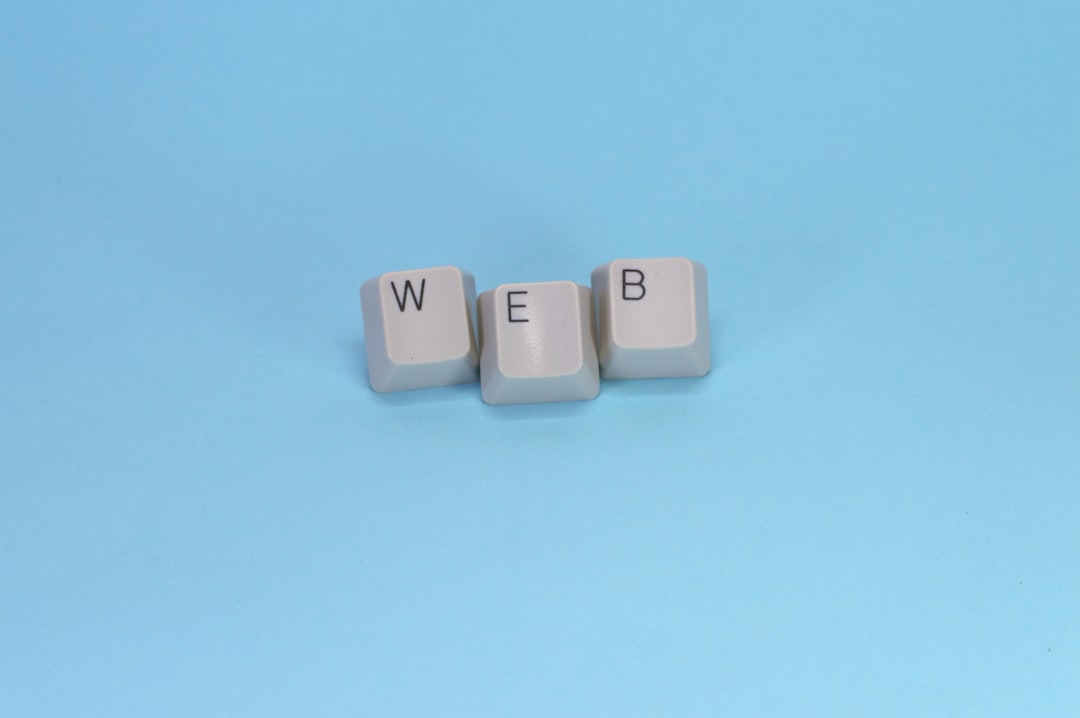
What is WebP Anyway?
WebP is a modern image format developed by Google. It’s like JPG or PNG, but smarter. It can make images smaller without losing much quality. That means your cat photos still look cute, but they load faster.
Here are a few WebP perks:
- Smaller file sizes
- Good quality images
- Supports transparency like PNGs
- Works well in most browsers
All cool, right? But even WebP files can be too big if you’re not careful. That’s why it’s super helpful to keep them under 100KB.
Why the Magic Number: 100KB?
Keeping image files under 100KB is like packing light for a trip. It makes everything faster and smoother.
Here’s what happens with small image sizes:
- Faster loading times: Your page appears quickly. Visitors stay longer.
- Improved SEO: Google loves fast-loading websites. Better speed = better ranking.
- Data savings: Mobile users thank you for not eating their data plans.
Basically, under 100KB is the sweet spot for performance and visuals.
Okay, So How Do We Get There?
Let’s break it down like a dance party. Here’s how you can compress WebP images to stay under 100KB without making them look terrible.
1. Resize Before You Compress
This is step number one, and it’s a biggie. Shrink the image dimensions. Do you really need a 4000px wide picture of your smoothie bowl? Probably not.
- For full-width images, try 1200px max.
- For small icons or thumbnails, 300px or less is great.
Smaller dimensions = smaller file sizes. Simple math!
2. Use a Compression Tool
There are loads of tools that crush your image files while keeping them pretty.
Here are some fan favorites:
- Squoosh – Fun and easy
- TinyWow – Quick and free
- iLoveIMG – Image love all around
- ImageMagick – For the command line ninjas
Pick your tool, upload your image, and set the file size goal to 100KB or less. Some tools even let you visually compare old vs. new. Very cool.
3. Choose the Right Compression Level
With WebP, you can compress in two ways:
- Lossless: Keeps 100% quality. Bigger file.
- Lossy: Drops some quality. Much smaller file.
If you’re aiming for 100KB, lossy is usually the way to go. But don’t worry—it still looks good most of the time!
4. Experiment and Test
Try a few settings. Does the 90% quality version look the same as 80%? Maybe even 60% still looks sharp enough for your blog. Play around and find the balance.
Use “Save for Web” or export settings in your favorite tools like:
- Photoshop
- GIMP
- Affinity Photo
You’ll often find sliders for file size or quality level. Slide away!
The Lazy Genius Way: Automate It
You can even make this super easy with automation. If you’ve got loads of images, doing this manually gets old fast.
Use tools or scripts to batch process images. Here are some good ones:
- ImageMagick: Compress a bunch via command line
- Sharp (Node.js): Great for developers
- Gulp or Webpack: For rockstar frontend folks
Here’s a sample ImageMagick command:
magick input.jpg -quality 70 -resize 1200x output.webpEasy peasy!
Uh-Oh, Still Too Big?
So you tried everything, and the WebP image is still over 100KB? Don’t panic! You’ve got options.
- Further reduce dimensions: 1200px too big? Try 1000px.
- Lower the image quality: Drop from 80% to 70%, and check.
- Crop out unused space: Trim that unnecessary sky or background.
Keep nudging it till you hit the goal.

Good vs. Bad Compression
Let’s talk vibes. You want your image looking sharp, but you also want it light. Here’s what to avoid:
- Over-blurring: Too low quality makes your image look like a potato.
- Pixelation: Don’t lose details that matter. Faces should still look human.
- Color mess-ups: Watch out for banding or weird color shifts.
If it looks off, re-export it at a slightly higher quality.
Your Quick Checklist
Need a refresher before uploading images? Use this speedy checklist:
- ✅ Image is in WebP format
- ✅ Width is no more than 1200px (or less)
- ✅ File size is under 100KB
- ✅ Image still looks clean and crisp
- ✅ Tested on your website for real-world performance
Bonus Tips for Faster Web Pages
Besides image compression, here are a few extra tips to make your website fly:
- Use lazy loading – Images load only when needed
- Use a CDN – Put your images closer to your users
- Limit number of images – Don’t overcrowd your page
Wrap-Up: Speedy and Stunning
So there you have it. WebP is already smaller and smarter than older formats. But with a little compression magic, you can make your WebP images weigh less than a feather—aka under 100KB.
The result? A fast, smooth, and eye-catching website that users (and search engines) will love.
Now go squash those pixels and speed up your site like a pro!