You just installed a shiny new CPU. You power on your PC. And then—boom—a strange message appears: “fTPM/PSP NV Corrupted”. Not exactly the warm welcome you expected.
Don’t panic. This error looks scary. But in most cases, it’s easy to fix. You don’t need to be a tech wizard. You just need a few simple steps and a calm approach.
TL;DR: The fTPM/PSP NV corrupted error usually shows up after installing a new CPU, especially on AMD systems. It happens because your motherboard detects a change in firmware-related security data. Most of the time, clearing the TPM or resetting BIOS fixes it. Follow the 6 easy steps below, and you should be back in Windows quickly.
First, What Is fTPM and Why Is It Mad?
Let’s keep it simple.
fTPM stands for Firmware Trusted Platform Module. It’s a security feature built into your CPU firmware. It stores small pieces of security data. Think encryption keys. Think Windows Hello. Think BitLocker.
PSP means Platform Security Processor. On AMD CPUs, this handles secure operations.
When you install a new CPU, the system may detect that security data doesn’t match anymore. It assumes something suspicious happened. So it throws the error.
The good news? It’s usually just confusion. Not corruption.
Why This Happens After a CPU Upgrade
Here’s what’s going on behind the scenes:
- Your old CPU stored TPM-related data.
- You removed that CPU.
- You installed a new CPU.
- The motherboard still has old security info saved.
- The new CPU says, “Hey, this doesn’t match!”
So it flags an error.
This is common on AMD Ryzen systems. Especially when:
- Upgrading Ryzen generations
- Resetting BIOS during installation
- Using BitLocker drive encryption
Before You Fix It: One Important Question
Are you using BitLocker?
If yes, stop and check that you have your BitLocker recovery key.
If you clear TPM without it, you might not access your files.
You can usually find the key in:
- Your Microsoft account online
- A saved file
- A printed copy
- Your IT department (for work PCs)
No BitLocker? Great. You’re clear to proceed.
How to Fix fTPM/PSP NV Corrupted Error (6 Easy Steps)
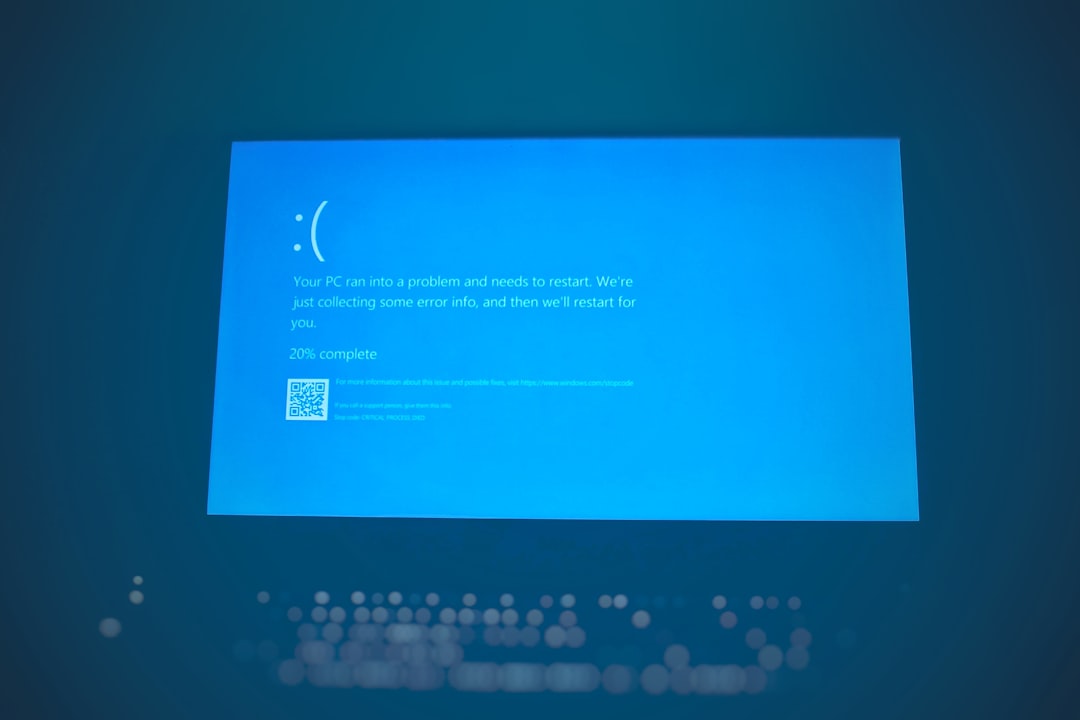
Step 1: Read the On-Screen Message Carefully
When you start your PC, you’ll likely see something like:
“New CPU installed. fTPM NV corrupted or fTPM structure changed.”
Usually, it gives you two options:
- Press Y to reset fTPM
- Press N to keep previous fTPM data
If you are not using BitLocker, press Y. That solves it in most cases.
If you are using BitLocker, make sure you have your recovery key first.

Step 2: Enter the BIOS/UEFI
If pressing Y didn’t fix it, let’s go deeper.
Restart your PC. As it powers on, repeatedly press:
- Delete (most common)
- F2 (common on ASUS and laptops)
- F10 or F12 (some systems)
This opens the BIOS or UEFI menu.
It may look scary. Don’t worry. We’re only changing one thing.
Step 3: Clear or Reset fTPM
Inside BIOS, look for these sections:
- Advanced
- Security
- Trusted Computing
- AMD fTPM configuration
You’re looking for something like:
- Clear fTPM
- Reset TPM
- Erase NV data
Select it. Confirm.
Save changes and exit.
Your system should reboot cleanly.
Step 4: Load Optimized Defaults
If the error persists, go back into BIOS.
This time, look for:
- Load Optimized Defaults
- Load Default Settings
- Factory Settings
Select it. Save. Restart.
This clears any odd firmware configuration conflicts.
Sometimes, a CPU upgrade leaves weird leftovers. This wipes them clean.
Step 5: Update Your BIOS
If you’re still stuck, your BIOS version might not fully support the new CPU.
Check your motherboard manufacturer’s website:
- ASUS
- MSI
- Gigabyte
- ASRock
Download the latest BIOS for your exact board model.
Inside BIOS, use:
- EZ Flash
- M-Flash
- Q-Flash
- Instant Flash
Follow on-screen steps carefully.
Important: Do not turn off your PC during a BIOS update.
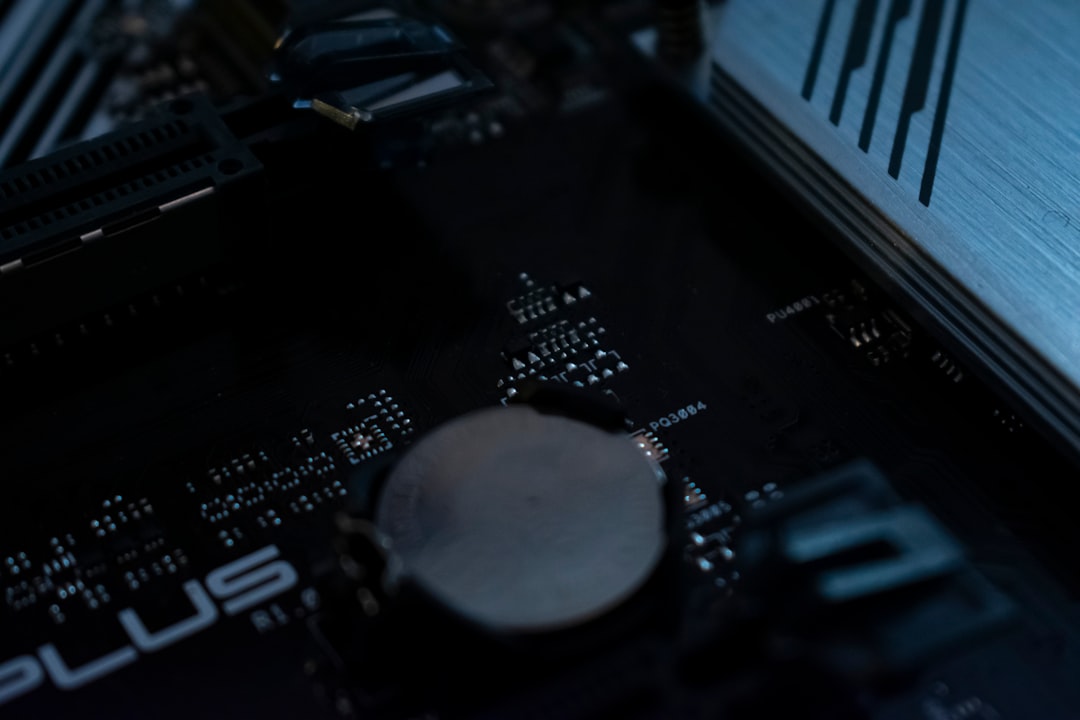
Step 6: Remove CMOS Battery (Last Resort)
If nothing else works, do a full CMOS reset.
Here’s how:
- Turn off PC.
- Unplug power cable.
- Hold power button for 10 seconds.
- Open the case.
- Remove the small silver CMOS battery.
- Wait 5–10 minutes.
- Reinsert battery.
- Close case and boot up.
This resets the motherboard completely.
Yes, you will need to reconfigure BIOS settings after.
Common Fixes Comparison Chart
| Fix Method | Difficulty | Risk Level | Most Effective When |
|---|---|---|---|
| Press Y to Reset fTPM | Very Easy | Low (unless using BitLocker) | After simple CPU swap |
| Clear fTPM in BIOS | Easy | Low | Error keeps reappearing |
| Load Optimized Defaults | Easy | Very Low | BIOS settings conflict |
| Update BIOS | Medium | Medium | New CPU not fully supported |
| CMOS Reset | Medium | Low | Persistent firmware corruption |
What If Windows Asks for BitLocker Recovery?
This can happen after clearing TPM.
Don’t panic.
Enter your recovery key. That’s it. Windows will boot normally afterward.
If you don’t have the key, you may need to sign into your Microsoft account from another device and retrieve it.
How to Prevent This in the Future
Planning another CPU upgrade someday?
Do this first:
- Suspend BitLocker before swapping CPUs.
- Update BIOS before installing new processor.
- Keep recovery keys saved safely.
- Reset TPM before removing the old CPU.
A little prep saves a lot of stress.
Is This Error Dangerous?
Short answer: No.
It sounds dramatic. It isn’t.
This error does not mean:
- Your CPU is broken
- Your motherboard is faulty
- Your data is destroyed
It simply means the security handshake between CPU and motherboard needs refreshing.
That’s it.
When You Should Worry
Rarely, it could signal:
- A failing motherboard
- Incompatible BIOS version
- Unsupported CPU
If the system won’t boot at all, check:
- CPU seating
- Thermal paste application
- Power connectors
- Motherboard CPU support list
But in 95% of cases? It’s just TPM needing a reset.
Final Thoughts
Installing a new CPU should feel exciting. Not terrifying.
The fTPM/PSP NV corrupted error looks complex. It isn’t. It’s a simple firmware mismatch caused by a hardware change.
Most of the time, pressing Y solves it instantly.
If not, BIOS reset. Then BIOS update. And finally, CMOS reset if needed.
Take it step by step. Slow and steady.
Your new CPU is ready to perform. It just needs a quick security reset handshake.
Now go enjoy that performance boost. You earned it.