Whether you’re polishing a marketing advertisement, documentary footage, or social media content, being able to “zone in” on an image during timeframe edits is crucial for creating a smooth and focused visual experience. This technique allows editors to lock in on a specific portion of an image over a desired time segment, directing the viewer’s attention to targeted creative details. In today’s fast-paced, content-rich environment, this skill is nothing short of essential for visual storytellers.
But how do you master this process effectively and efficiently? In this guide, we’ll walk you through a step-by-step approach to zoning in on an image during timeframe edits—whether you are working with software like Adobe Premiere Pro, Final Cut Pro, or even DaVinci Resolve.
Understanding the Concept of “Zoning In”
First things first, what do we mean when we say “zone in”? In editing, this typically refers to more than just zooming into a part of a still or moving image. It involves keying into one segment of the footage—either to focus attention, emphasize a moment, or cleanly isolate visual data. It combines pan, zoom, crop, and sometimes slight overlays to deliver a more immersive viewer experience.
This technique is often used in tutorials, music videos, surveys, and product demos, where image focus can communicate clarity, emotion, or point-of-interest more effectively.
Required Tools and Preparations
Before we jump into the technical steps, let’s ensure you have everything you need. You should have:
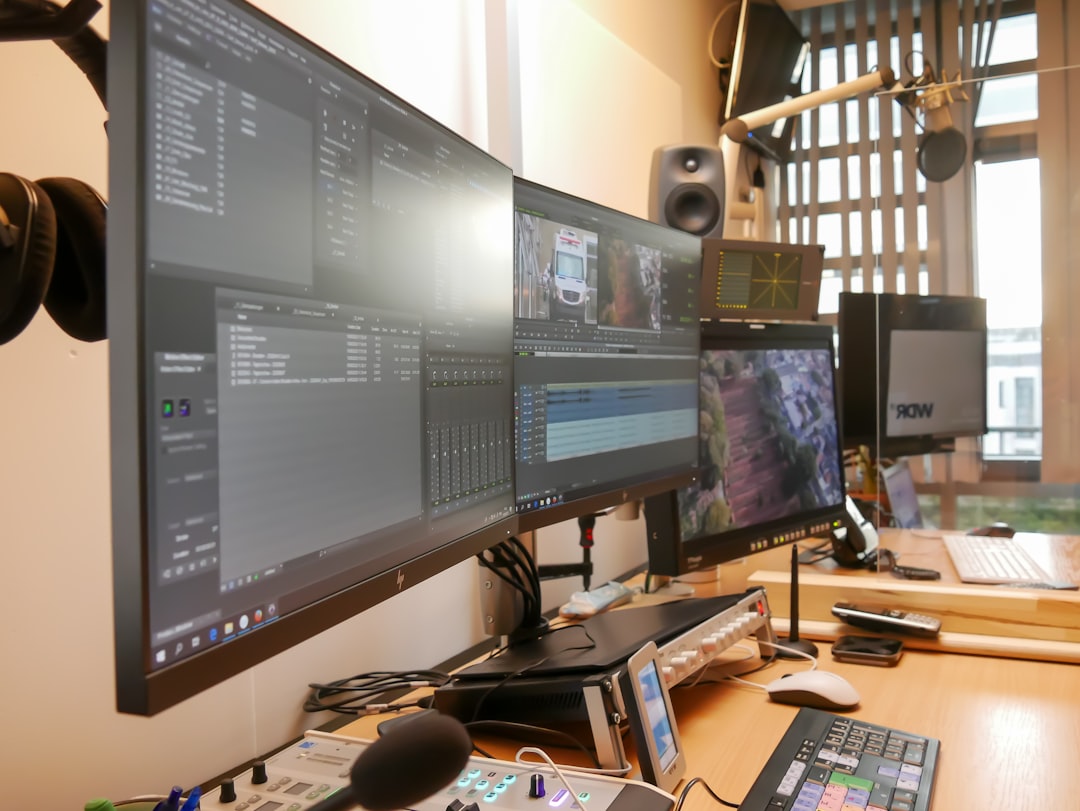
- Video Editing Software: Adobe Premiere Pro, Final Cut Pro, or DaVinci Resolve.
- Footage Ready: High-quality video or image files you will be editing.
- Timeline Markers: Placed or noted timestamps where you want to apply the zoom effect.
- Image/Video Format: Higher resolution is ideal since you’ll be enlarging part of the frame.
Now let’s begin with the step-by-step process.
Step-by-Step Guide to Zone In on an Image During Timeframe Edits
Step 1: Import and Navigate to Your Targeted Timeframe
After launching your editing software, import your assets into the project timeline. Navigate to the section of the footage where you want the focus or zoom-in to begin.
Use either timeline markers or scrub with your playhead to accurately pick the in-and-out points of the zoning segment. This ensures your zoom effect will be tight and relevant.
Step 2: Identify the Focal Area of the Frame
Pause at the intended moment and inspect the image visually. Which part do you want to emphasize? It could be a face, a document, a product label, or even a small cursor on a screen.
Consider how cropping and zooming will affect the resolution—most editors recommend starting with 4K footage if you intend to zoom significantly.
This is also a creative decision. Ask yourself, “Why does this part need more attention?” If the answer involves improving clarity or emotion, you’re on the right track.
Step 3: Apply the Zoom and Pan Effect Using Keyframes
Now it’s time to add dynamic motion to your clip. Activate the effects controls (typically under “Transform” or “Motion”). Use the Scale and Position properties to zoom in and move the frame to keep your focal area centered.
To make this smooth:
- At the timestamp where your zoom begins, add a keyframe for Scale and Position.
- Move forward along the timeline (usually 1–2 seconds) and then increase the Scale while adjusting the Position values.
- The software interpolates the transition between keyframes, creating a clean zoom and pan in-motion.
Tip: Enable bezier curves or smooth interpolation to avoid robotic movement during the transition.
Step 4: Lock and Hold Focus for the Duration
Once you’ve zoomed in, decide how long you want to stay focused. If it’s a spoken passage or an action moment, review the duration and ensure that your footage is held steadily before you animate the zoom back out—unless the next shot continues organically.
You can maintain static keyframes during this section to keep the visual stable and precise. Break the rhythm only when you intend for the effect to shift focus again.
Step 5: Add Exit Keyframes to Return to Full Frame
To wrap up the zoning, you’ll want to exit gracefully. Move forward in your timeline and then revert position and scale values back to what they were at the start. This creates the zoom-out effect that completes your zoning segment.
If done correctly and timed with any audio, narration, or music, this effect becomes engaging without being jarring.
Step 6: Preview and Fine-Tune
Use playback to review your work. Does the zoom feel smooth? Are details too blurry? Does it match the tone and speed of the content?
Make sure to adjust:
- Zoom speed: too fast can be jarring, too slow can become boring.
- Focus frame: ensure the subject is always center-aligned unless stylizing off-center for dramatic effect.
- Sharpness: if resolution dropped, consider enhancing detail or adjusting the crop area.
Creative Touches and Considerations
To elevate the zoning effect further, try incorporating the following elements:
- Vignette overlays to draw eye-contact toward the zoomed section.
- Sound design such as a subtle whoosh sound as you zoom in or out.
- Layered overlays like text or graphics that accentuate what’s being zoomed on.
These enhancements not only provide polish but can dramatically enhance storytelling. Remember, isolation is a form of emphasis—but too much can distract. Always balance your creative choices with the narrative or instructional goal of the video.
When to Use Zoning In Techniques
Understanding when to use this technique is just as crucial as how. Here are common use cases:
- Instructional Content: Zoom into buttons, settings, or labels in guides.
- Product Demonstrations: Focus on logos, features, or designs on products.
- Emotional Highlighting: Zoom into a subject’s face during a revealing moment.
- Historical or Event-Based Footage: Emphasize objects or individuals in footage highlights.
Used wisely, this effect becomes part of your storytelling arsenal rather than just a technical flourish.
Common Pitfalls to Avoid
Here are some traps editors fall into when trying to zone in during timeframe edits:
- Zooming in on low-res footage, making the image pixelated and unwatchable.
- Unintended shifts in focus creating viewer confusion.
- Overusing zoom and pan effects, leading to visual fatigue.
- Sync issues between audio and visual emphasis.
Make sure to review each edit in context of the full video to ensure compatibility and flow.
Conclusion
Zoning in on an image during specific timeframe edits is more than just a visual trick—it’s a storytelling tool. When executed properly, it elevates the viewer’s engagement, enhances clarity, and communicates emotion.
Take the time to plan your keyframes and transitions, explore creative overlays, and always preview with your audience’s perspective in mind. With time and practice, this technique will not only become second nature—it will become a signature part of your editing style.