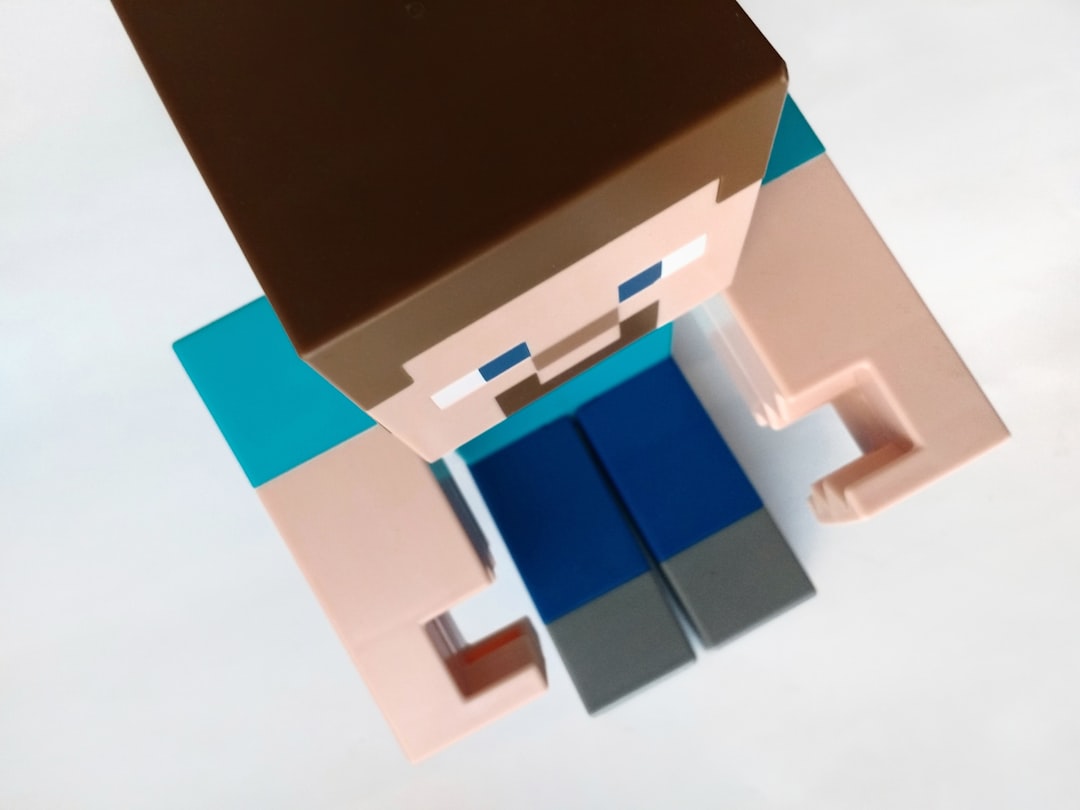
So you’re working in Blockbench, and suddenly your texture doesn’t fill the entire image. Ugh! We’ve all been there. One moment you’re designing a glorious creeper suit, and the next—poof! The texture looks half-baked. Don’t panic. This guide will help fix that little wobble in no time.
Why Is This Happening?
There are a few possible culprits. Knowing why it’s going wrong helps fix it fast. Here are some common reasons:
- Your texture image is too small
- The UV mapping isn’t covering all the parts
- You’re editing the wrong texture file
- You forgot to update your texture in Blockbench
Good news: You can fix all of these!
Step 1: Check Your Texture Size
One of the most common issues is using a tiny image. If your model is big, but your image is teeny (like 16×16 pixels), parts won’t show correctly. They’re just… missing!
What to do:
- Open your texture image in an editor like Paint.NET or Photoshop
- Check the resolution—make it bigger (like 64×64 or 128×128)
- Save it
- Go back to Blockbench and reload the updated texture
Suddenly, all your model’s parts have room to shine!
Step 2: Adjust Your UV Mapping
The UV map tells Blockbench which part of the texture goes where. If it isn’t set right, some blocks could be grabbing blank spaces!
What to do:
- Click on the “UV Editor” tab
- Select a cube or shape
- Look at the outline in the UV editor – is it on a blank part?
- If yes, drag it to the filled part of the texture
You can also resize the UV box to cover more area if your block needs more detail.
Step 3: Match Image Size with Project Settings
Your model’s project settings must match the texture size. If not, Blockbench gets confused.
To fix this:
- Go to the “Paint” tab
- Click the gear icon (project settings)
- Look at texture width and height
- Match those to your actual image size
Make sure the numbers are correct, or your model may still look wonky.
Step 4: Update or Reapply Your Texture
Sometimes the old texture sneaks in like a ninja and stays cached. Even after you fix the image, it doesn’t show up right away.
Try this:
- Go to the “Paint” tab
- Click the image icon (looks like picture squares)
- Choose “Apply Texture” and select your updated file
Now take a look. Does it work? If yes, dance it out. 💃
Bonus Tip: Don’t Forget Transparency
Sometimes your texture is there… but invisible! That’s right. If your image has transparent pixels where you meant to have design, the model stays bare.
Fix it by:
- Opening the texture image
- Making sure the missing areas aren’t just transparent in the editor
- Filling those areas with colors or patterns
Remember, Blockbench shows you what it sees. If it sees nothing, it shows nothing!
Quick Recap
If your texture isn’t filling the image in Blockbench, try these steps:
- Increase the size of your texture file
- Fix your UV mapping in the UV editor
- Match texture size with project settings
- Reapply your texture in the Paint tab
- Check for transparency in your image
That’s it! Now you should have a crispy, fully-textured model ready to attack… or dance.
Happy modeling!