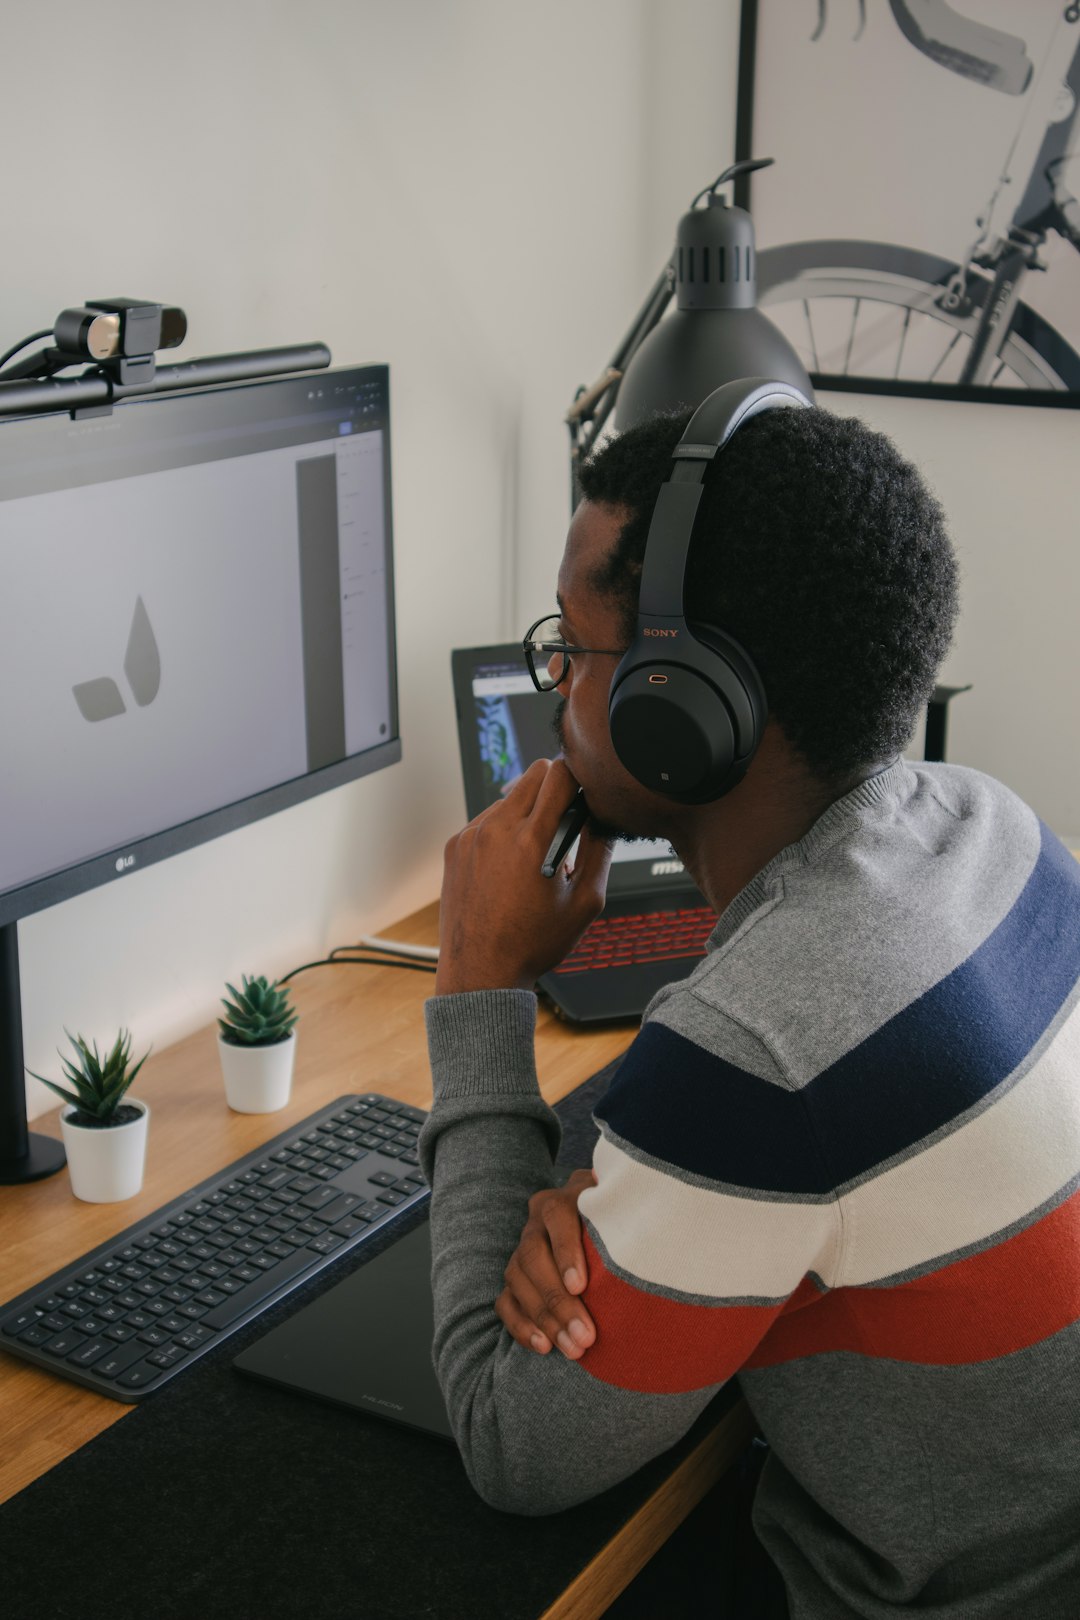
So, you just got a shiny gaming laptop and a cool VR headset. Sweet! Now you want the best VR experience possible. But how do you optimize your laptop to run smooth, immersive virtual reality in 2025? Don’t worry — we’ll break it down for you. It’s easier than you think and kind of fun too!
1. Check Your Laptop’s Specs
First things first. Your laptop needs to meet the basic VR requirements. Here’s what to look for:
- GPU: At least NVIDIA RTX 3060 or newer
- CPU: Intel i7 12th Gen or AMD Ryzen 7 6000+
- RAM: 16 GB or more
- USB Ports: Enough for your VR headset and controllers
- Operating System: Windows 11 is recommended
If your laptop checks all the boxes, you’re off to a great start!

2. Update Everything
Seriously. Everything needs to be up to date:
- Graphics Drivers: Visit NVIDIA or AMD’s website and grab the latest VR-ready drivers.
- Windows Updates: These often improve performance and fix bugs.
- Firmware: Some laptops have BIOS or hardware updates that help VR work better.
Turn on auto-updates if you haven’t already. Life becomes so much easier.
3. Manage Power Settings
Your laptop is a hungry beast when running VR. Feed it properly:
- Set your laptop to High Performance Mode in Windows.
- Plug it in! Running on battery seriously weakens performance.
- Use your laptop’s performance control app (like Alienware Command Center or ASUS Armoury Crate) to crank it up to max gaming mode.
4. Plug Into a Cooling Pad
VR can heat things up — literally. Your laptop will thank you for extra cooling. Get a fan-powered cooling pad to place underneath. It helps prevent thermal throttling. That means your laptop won’t slow itself down to avoid burning up. Hot hardware = glitchy VR.

5. Close Background Apps
Before launching your VR game or app, shut down memory-eaters:
- Web browsers (Google Chrome, we’re looking at you)
- Chat apps like Discord (unless you’re using them in-game)
- Any software updaters or unnecessary background tasks
Check the task manager to hunt down anything suspicious hogging CPU or RAM power.
6. Optimize In-Game Settings
VR games look amazing, but they can demand a lot. Try these tips:
- Lower Anti-Aliasing: You won’t notice the difference, but your GPU will love you.
- Reduce Shadow Quality: In VR, shadows aren’t a big deal.
- Adjust Render Resolution: A big one! Set it to 100% or slightly lower for smoother frames without losing clarity.
Your eyes will still be wow’d without forcing your laptop to cry.
7. Keep VR Software Clean
Apps like SteamVR or Oculus Home can get messy over time. Periodically, clear their cache, uninstall unwanted VR apps, and check for updates. A tidy VR runtime = fewer crashes. Yay science!
8. Use a Wired Connection
Wireless VR (like Air Link or SteamVR Wireless) is cool, but latency can ruin the fun. When possible, use a USB-C or dedicated VR cable for the solid connection. It gives faster data speed and almost-zero lag. Plus, no Wi-Fi hiccups!
9. Calibrate and Test
Before playing, take a minute to recalibrate your headset and tracking. Make sure the play area is clear. Always test your VR setup with a light app first to see how smooth things run. Then go heavy with the big games.
10. Stay Cool and Have Fun
You did all the tweaks. Your laptop is ready. Your headset is glowing. Time to dive into your favorite VR world. Explore space, fight zombies, or just chill in a virtual café. Whatever your vibe, you’ve earned every pixel.
Bonus Tip: Keep an eye on laptop temps and frame rates using tools like MSI Afterburner. Just to make sure things stay buttery smooth.
Gaming in VR is awesome. Optimizing for VR? Now you’re a VR wizard. Enjoy the ride!


